Sunday, December 29, 2013

How to Make Your Own Christmas Tree Ornaments

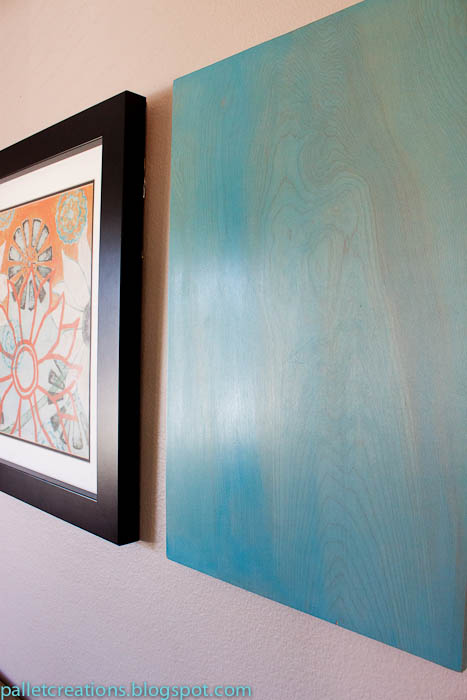
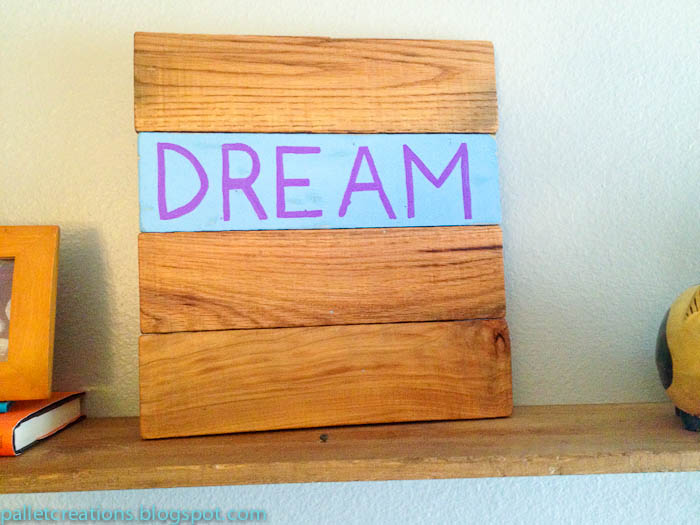
The Finished Project!
I was recently asked to bring an ornament to a holiday party and of course, I waited until the last minute to buy something.  This is a quick and easy project that you can easily replicate for all your friends and family. I'm sure you'll find some holiday party hosts even ask everyone to bring their own ornament for an exchange.


Tools needed:
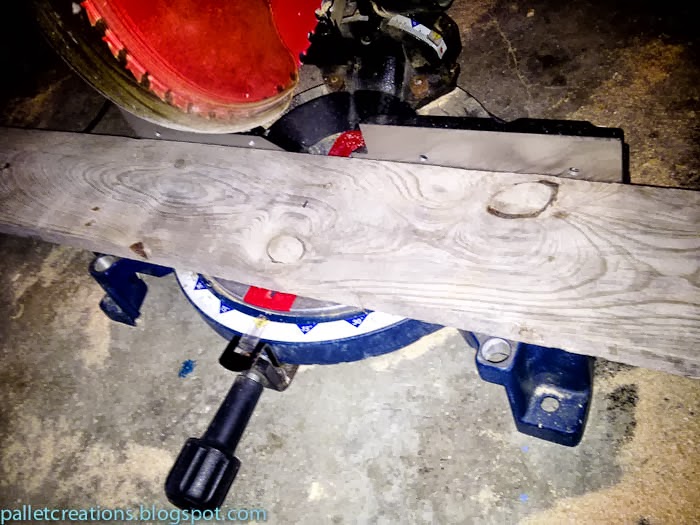
Saw or other cutting device
Paint (if desired) and rag to wipe on paint
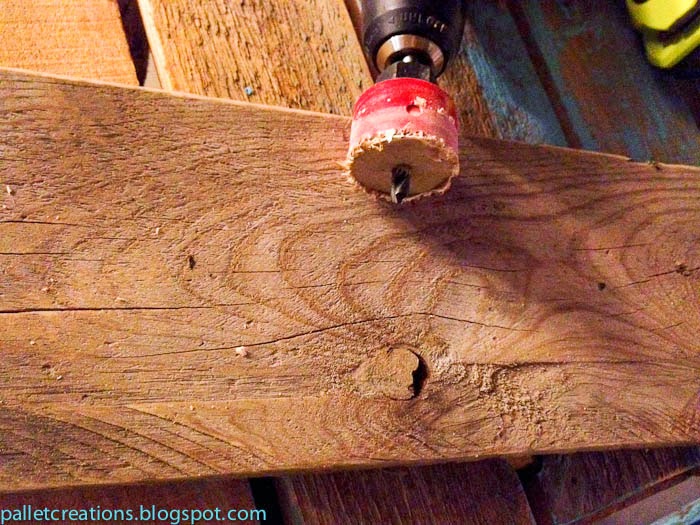
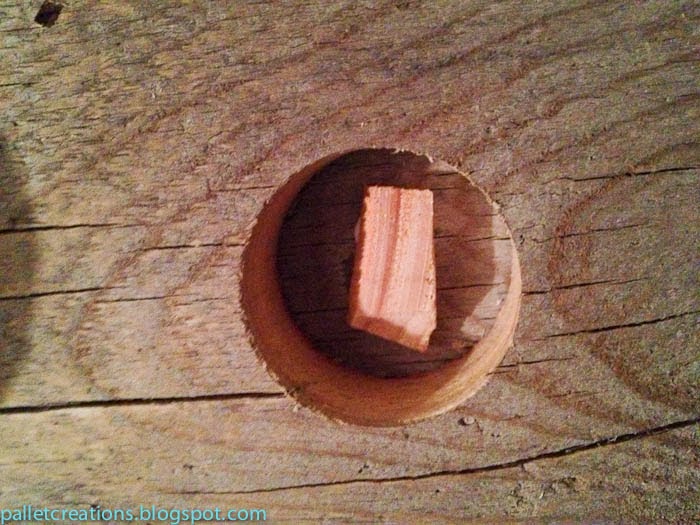
Drill and small bit
Sand paper- medium grit
String, twine or jute (whatever that is)
Scissors or knife to cut string
Sharpie, paint pen or dark colored permanent marker
1. I started by cutting the pallet wood into the shape of a small arrow.
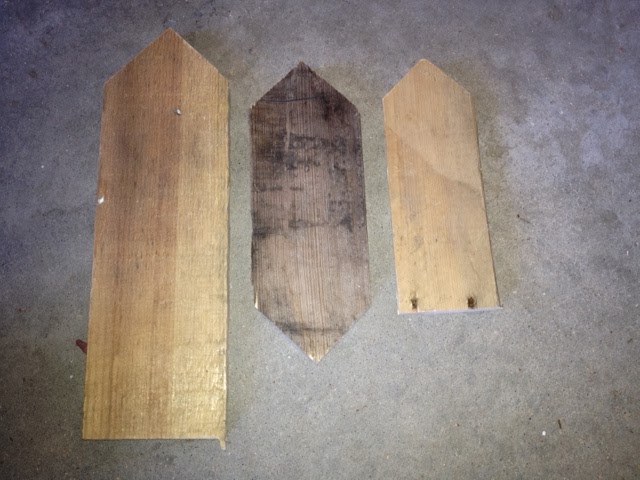
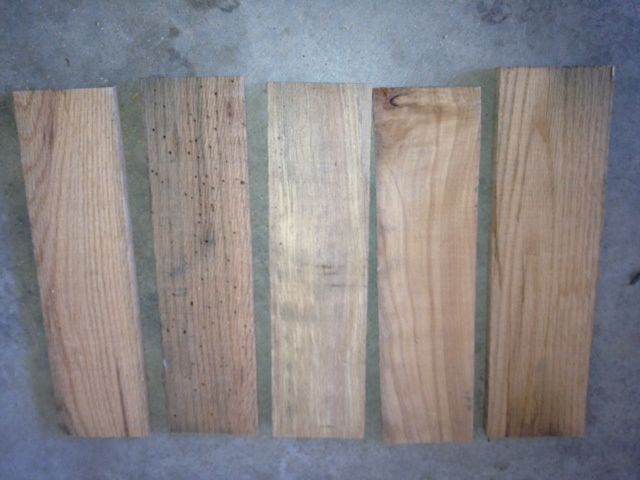
The Raw Wood
If you don’t have a saw you can use anything at all to chop off the ends of your small piece of wood to create the triangle point of the wood.  I have even used a chisel and hammer to “perforate” the edges and then just snap them off. Some pallet wood is very soft and will chisel easily.
2. I sanded the wood a bit to soften the edges and get rid of any super rough spots.
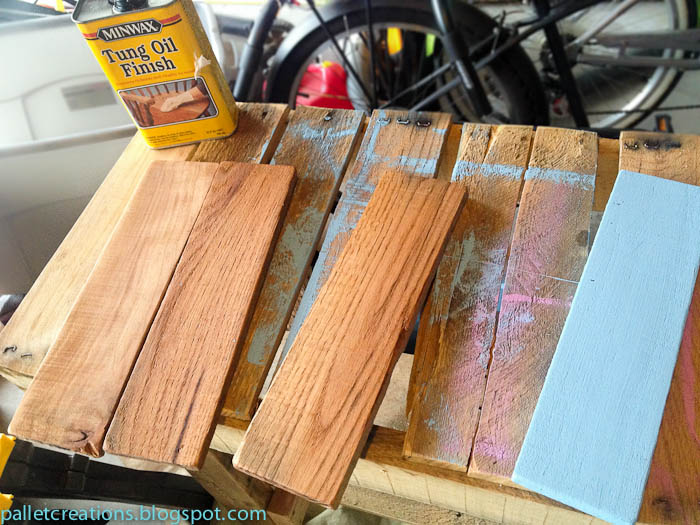
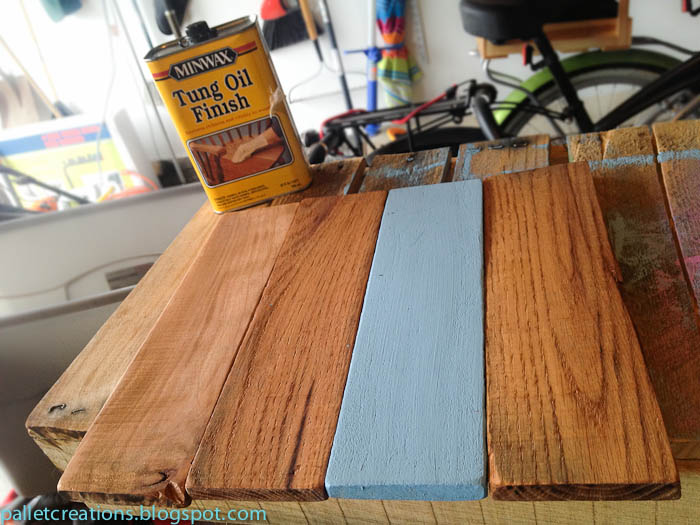
3. I then dipped a rag into the paint and rubbed it on the wood.  I hit all sides of the woods, but I was careful not to use too much.  The objective is not to fully paint the wood, but rather to just give it some color.  I used a clean part of the rag to rub off a bunch of excess paint.  You almost want to use the paint like you would use a stain or varnish.  It should dry very quickly, as there shouldn’t be too much paint on your ornament.
4. When the paint has dried to the touch (about 5-15 minutes if you rubbed much of it off)  you can sand it again.  Don’t sand too much.  You want to distress the object and bring out some of the wood grain.  You still want to leave much of the color there.
5. The last step is to simply use your permanent marker to write something creative on your ornament.  I just wrote “to Da Beach”, although my wife told me she would have preferred “to The Beach”.  Get creative and make a few with different colors and sayings. Make sure the initial paint is dry before writing on the wood or else smearing may occur.
6. Lastly, drill two small holes on the top a few inches apart.  Insert some twine or other string and knot it.  If you only have white string, you can try dipping it in coffee to stain it darker.

7. Don’t forget to sign and date the back! People will fight over these thing if you give them a personal touch.

Sunday, October 20, 2013

Super Simple Pallet Wood Candle Holder

This project looks really cool and can be made in about 30 minutes! I've made some with "plant holder" and some without.  Check out the simple steps to make some treasure out of your trash.  It makes a nice gift too!  As always, make sure you are using untreated wood so that you're not sanding pesticides and other stuff into the air!


Materials:
Large drill bit or boring bit.
Saw
sandpaper
measuring device
hammer and small brad nails (or nail gun).  I suppose you could use wood glue too :)
Safety gear always recommended (eye protection, mask for sanding...)


1. Cut two boards to the exact same size. Set one board aside for now.

2. Mark your spots for your holes.  I made mine with three candles and spaced the candles out evenly.  I then added a bit more space for the plant. You only need to mark and drill the top piece of wood.
3. Drill your holes! Get some sample tealights and make your holes slightly larger than the diameter of the tealights.  I also drilled a larger hole for my mini-flowerpot. 

4. Sand the entire thing.  You can technically choose to sand before fixing the two boards together.  It depends on if you want both sides and all edges of the boards sanded.  

Optional- if the thickness of the wood is greater than the height of the candle, the candle may end of being recessed in the wood.  I wanted the candle flush with the top of the wood.  I glued tiny pieces of scrap wood to each "candle cup" to raise them up a bit.  They are not visible when candles are inserted. 


Obviously you can use any type of finish or paste wax on this.  Your call. Enjoy!

Monday, October 14, 2013

Giant Pallet Wood Map

While walking around Grand Rapids Michigan during Art Prize, I came across this enormous map of the United States.  Upon further inspection, it was made entirely of pallet wood! They used different distressing techniques, angles and shading to indicate different states.   I'd love to see a reader make a replica of this ;)  On another note, Art Prize in Grand Rapids was a pretty cool event.
Pardon the poor quality cell phone image.

Saturday, March 9, 2013

Adding Color and Mass to a simple Framed Picture

My wife picked out a pretty cool picture to go behind our couch.  It has some nice splashes of color in it, as well as a very solid black frame.  Overall, a good choice.  However, I didn't feel like it was as large as it could have been in order to to take up a lot of room behind the couch.  It needed more mass and it wasn't practical to purchase two more images to flank it.  We contemplated some nice bronze candleholders/ wall sconces to go on either side, but that was just more money.

Against my wife's initial objections, I ended up using some scrap wood to add the mass I needed.  The way I created them was very simple and cost almost nothing.

1. Measure the height of the picture frame and cut two pieces the same height and whatever width you want.  I used 3/4" plywood.

2. I used a corresponding paint color that picked up the accent from the picture.  In a cup, I diluted the paint with water.  If I actually painted the wood, it would be a very solid and opaque color.  I wanted a whitewash finish.

3. I used a rag to "paint" on the color.  I waited a moment and then wiped it off.  The technique was very similar to staining.  This allowed the grain of the wood to show through and give it a neat effect. You really want to make sure you do a uniform job though, otherwise you'll get some patchy color.

4. Lastly, I used a paste wax to give it a tad of sheen, as well as protect it from age.  I actually did a test on the back first.  I tried a line of paste wax, a line of satin polyurethane and natural wood.  The wax won out.  See this post on using paste wax.


Viola! Simple and CHEAP. I've added color and mass to my initial picture using only scrap wood.

Paste Wax – The Little Known Secret to Quick, Simple and Rustic Finishes


 I’m not sure what it is about polyurethane finishes that I dislike.  It could be the smell, the mess, the brushes to clean or maybe even the fact that it makes things look a tad too industrial for me (even satin finish). My go to finish is a paste wax that can be found in your local hardware store.  It does not add any color, but rather brings out the natural glow of the wood while adding some protection.  It also adds a little shine to things, but it’s not a uniform high gloss.  It almost makes things look a tad rustic.

The best part is that all you need is an old rag.  It goes on really easily and then just wipes off.  It’s dry and good to go really quickly too.  I’ve used this on many projects and while it does not protect as well as a polyurethane, I seem to prefer it. I use Minwax only because it's the only brand I find in stores.  Try it for yourself and let us know your thoughts! 

The two projects below were finished with paste wax.
Adds a subtle sheen.  Very easy to apply. 

The wax gave it a nice aged look and brought out the distressing.


Wednesday, January 30, 2013

Tutorial – Simple wood slats with contrasting color and theme word


Here’s a super simple design that can work anywhere in your home.  It requires very little cutting, painting and other know-how.  I got the inspiration for this from something on Pinterest.  I saw someone make a clock using four slats of wood, one of which was painted green.  I had no need for a clock, but I liked the idea of one piece of wood being a nice vivid color.  Choose your own word, phrase or theme.  Maybe LOVE, FAMILY, PEACE…

I didn’t want this piece to look too rustic.  I was actually fortunate enough to find a great pallet made of oak. 

I actually cut 5 and then narrowed it down to 4. 
Step 1- Cut four equal(ish) slats of wood.  These will be your main visual pieces.

Step 2- sand them first with rough grit sandpaper, like an 80 grit. Then finish sand with something more fine, such as a 150 grit.  Make sure your round the edges of the wood a little bit to soften things up. 

Step 3- Paint your contrast piece with a bright, vivid color.  I used a random color I found in the Oops paint aisle. For the other three pieces, it may look like I stained them, but I actually used a tongue oil on them. See this page about usingtongue oil. I figured that the oak would be great left in it’s natural shade and I wanted to showcase the wood.  If you have standard pine or douglas fir, then you may want to stain it to get some more color.
I used a paint pen to write the word “dream” on the wood.


Step 4- I didn’t want to polyurethane the wood because I wanted it a tad more natural looking.  One of my favorite finishes is paste wax.  Check out this page on how paste wax can add a subtle sheen with very little effort. Note, that the wood has been painted and sealed before I put it together.  This allows the finish to creep around the cracks and edges.


Step 5- Cut two small pieces of wood to run vertically along the back of the others to connect them.  They don’t need to run edge to edge.  Lastly, just use small finishing nails or screws to adhere the wood.  Just make sure the nail or screw does not stick out the front of the wood! Measure depth first.

I used a nail gun, but you can hammer or screw it instead.
Optional- You can install some wire or a frame hanger on the back to hang it up. Enjoy!


Tongue Oil – Adding Color and Life to your wood when a stain is too much


My new mantle, with tongue oil
I recently remodeled my fireplace and wanted to install a custom mantle. I found the greatest exotic wood store in my town and chose a piece of Mexican Parota. I asked about staining it and the salesman said the best bet would be to sand it a bit and then oil it.  I asked what oiling it would do and he brought out a spray bottle to show me. 


If you’ve ever seen regular wood get wet and change color, then you know how much more vibrant and alive it can look.  The same wood, when oiled takes on the natural appearance and color of the wood, rather than the dry, dull finish that it may have when sitting on a store shelf.  Essentially, it looks wet, but it isn’t; it’s just “rich.”

As an added bonus, the oil also adds some protection.  One example is my use on this “DREAM” project.